#Industry News
Technology meets metrology
With the help of Bruker Alicona, MTU Aero Engines can now quickly, easily and automatically measure radii and defects in the highly-specialised components it manufactures for today’s modern aero engines.
The automatic measurement and evaluation of radii, chamfers and break edge on turbine engine components is one of many criteria in modern quality assurance at MTU Aero Engines.
Currently three Cobot systems from Bruker Alicona are in use for break edge measurement. On top, the optical measuring solutions replace labour intensive replica techniques and tactile methods in defect measurement.
“If there’s a burr, this could become a danger point in the engine,” begins MTU’s inspection planner, Michael Duffek who is jointly responsible for quality assurance of turbine engine components. For MTU, the automated measurement and evaluation of edges, radii and chamfers of engine components is an important part of modern, state-of-the-art measurement technology.
Highly specialised components such as turbine blades, turbine discs or blisks are measured, and they involve a number of metrological challenges. These include, for example, the complex geometry with steep flanks as well as varying reflection properties of the components.
Different surface reflections occur due to varying manufacturing processes, as surfaces to be measured are either coated, and therefore matt or ground, and therefore highly reflective. For a suitable measuring system, this means that it must not only offer the required automation options including standard-compliant evaluation, but must also be able to measure complex, difficult-to-access geometries with tight tolerances and matt to reflective surfaces in high resolution and repeatability. A further requirement is the integration into a production process including integration into the existing IT environment.
“And the whole thing has to be fast and straightforward,” states Duffek, adding to the list of criteria MTU uses as a basis for continuously evaluating its measurement equipment suppliers.
As a result, there are now 15 Bruker Alicona measurement systems in use at MTU locations worldwide, 11 of which are located at the test centres of the German headquarters in Munich. This is also where the automated measurement of turbine engine components takes place, which are implemented with measuring equipment from the Bruker Alicona Cobot line.
Combining sensors with robots
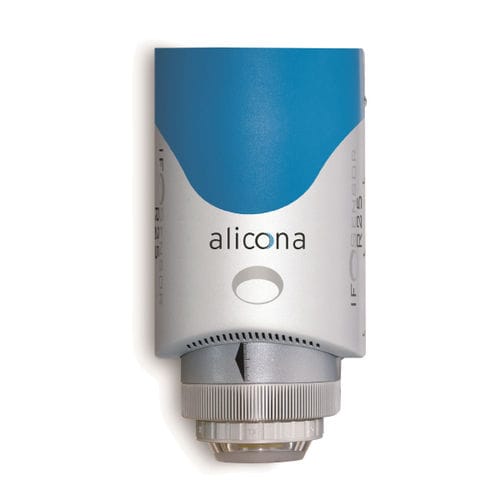
Cobots are a combination of a collaborative 6-axis robot and a high-resolution optical 3D measurement sensor to be used for the automatic inspection of microgeometries on large components. In the aerospace industry, the measurement of deburred edges, also known as “break edge measurement” on turbine disks and turbine housings are the most common applications.
“Bruker Alicona Cobots have been available on the market since 2017, and even then, nothing comparable has existed, at least we are not aware of any system,” says Duffek. “What the Cobot already offered three years ago at the market launch was unique. All the other manufacturers we evaluated would have had to start at the development stage.”
He is now a ‘Cobot expert’, because under his leadership, three systems for the automated measurement of edges, radii and defects are currently in use in Munich.
Classical manufacturing processes, such as turning, milling and grinding can lead to burr formation and unwanted sharp edges. These represent structural weak points where material breakage or cracks can occur. This can ultimately lead to a potential danger to the safe operation of an engine, which is why high demands are placed on edge processing and its testing and certification.
Cobots, which like all Bruker Alicona measuring systems are based on Focus-Variation, are suitable for this purpose in many ways. The optical technology enables the measurement of highly reflective to matt surfaces with steep flanks and even captures geometries with tolerances in the single-digit µm range in high resolution. This means that even the smallest form deviations can be measured traceably. The evaluation is performed automatically and according to common industry standards, e.g. ASME.
In addition, Cobots are suitable as both high resolution and process-stable measurements go along with easy operation of the system, which is designed for the use of several operators. The handling, measurement and evaluation by means of programmed test routines are easy to handle.
“Teach-in of measuring programs with the joystick is intuitive,” is how MTU sums up the situation. Optionally, measuring routines can also be defined in the CAD file of the component using a CADCAM connection.
Defeating the defects
Another field of application for the Cobots is defect measurement. The maximum depth of a defect determines whether a component is reused, repaired or disposed of as a reject part. Conventional, manual methods for defect measurement using replica techniques, profile projectors and tactile methods such as contour measurement systems are labour intensive and cannot be automated.
“State-of-the-art technology is very important to us when it comes to measuring technology,” Duffek explains. “Using optical measurement technology, we are faster, more accurate and, above all, process-capable. With Bruker Alicona we can also measure automatically in a CNC process.”
Increasingly more Cobot users in the aerospace sector use the possibility to define measurement routines directly on the CAD data set of a component by means of a CAD/CAM connection. Several hundred measuring positions on a wide variety of components, for example turbine housings, are automatically measured and evaluated. This would also take many times longer with conventional methods, such as the use of replica techniques. According to MTU, this brings a reduction in inspection costs of 25% to 50%.
www.alicona.com


